How to Design and Print Your Own Wedding Invitations (Without It Looking DIY)
Designing your own wedding invitations can feel intimidating, but it’s one of the easiest ways to add a personal touch to your wedding before guests even arrive. Done right, DIY invitations don’t look homemade at all. In fact, they can look more thoughtful and elevated than many off-the-shelf options.
Your invitation is the first impression of your wedding, so make it count.
(Affiliate Links)
Zazzle is our secret weapon
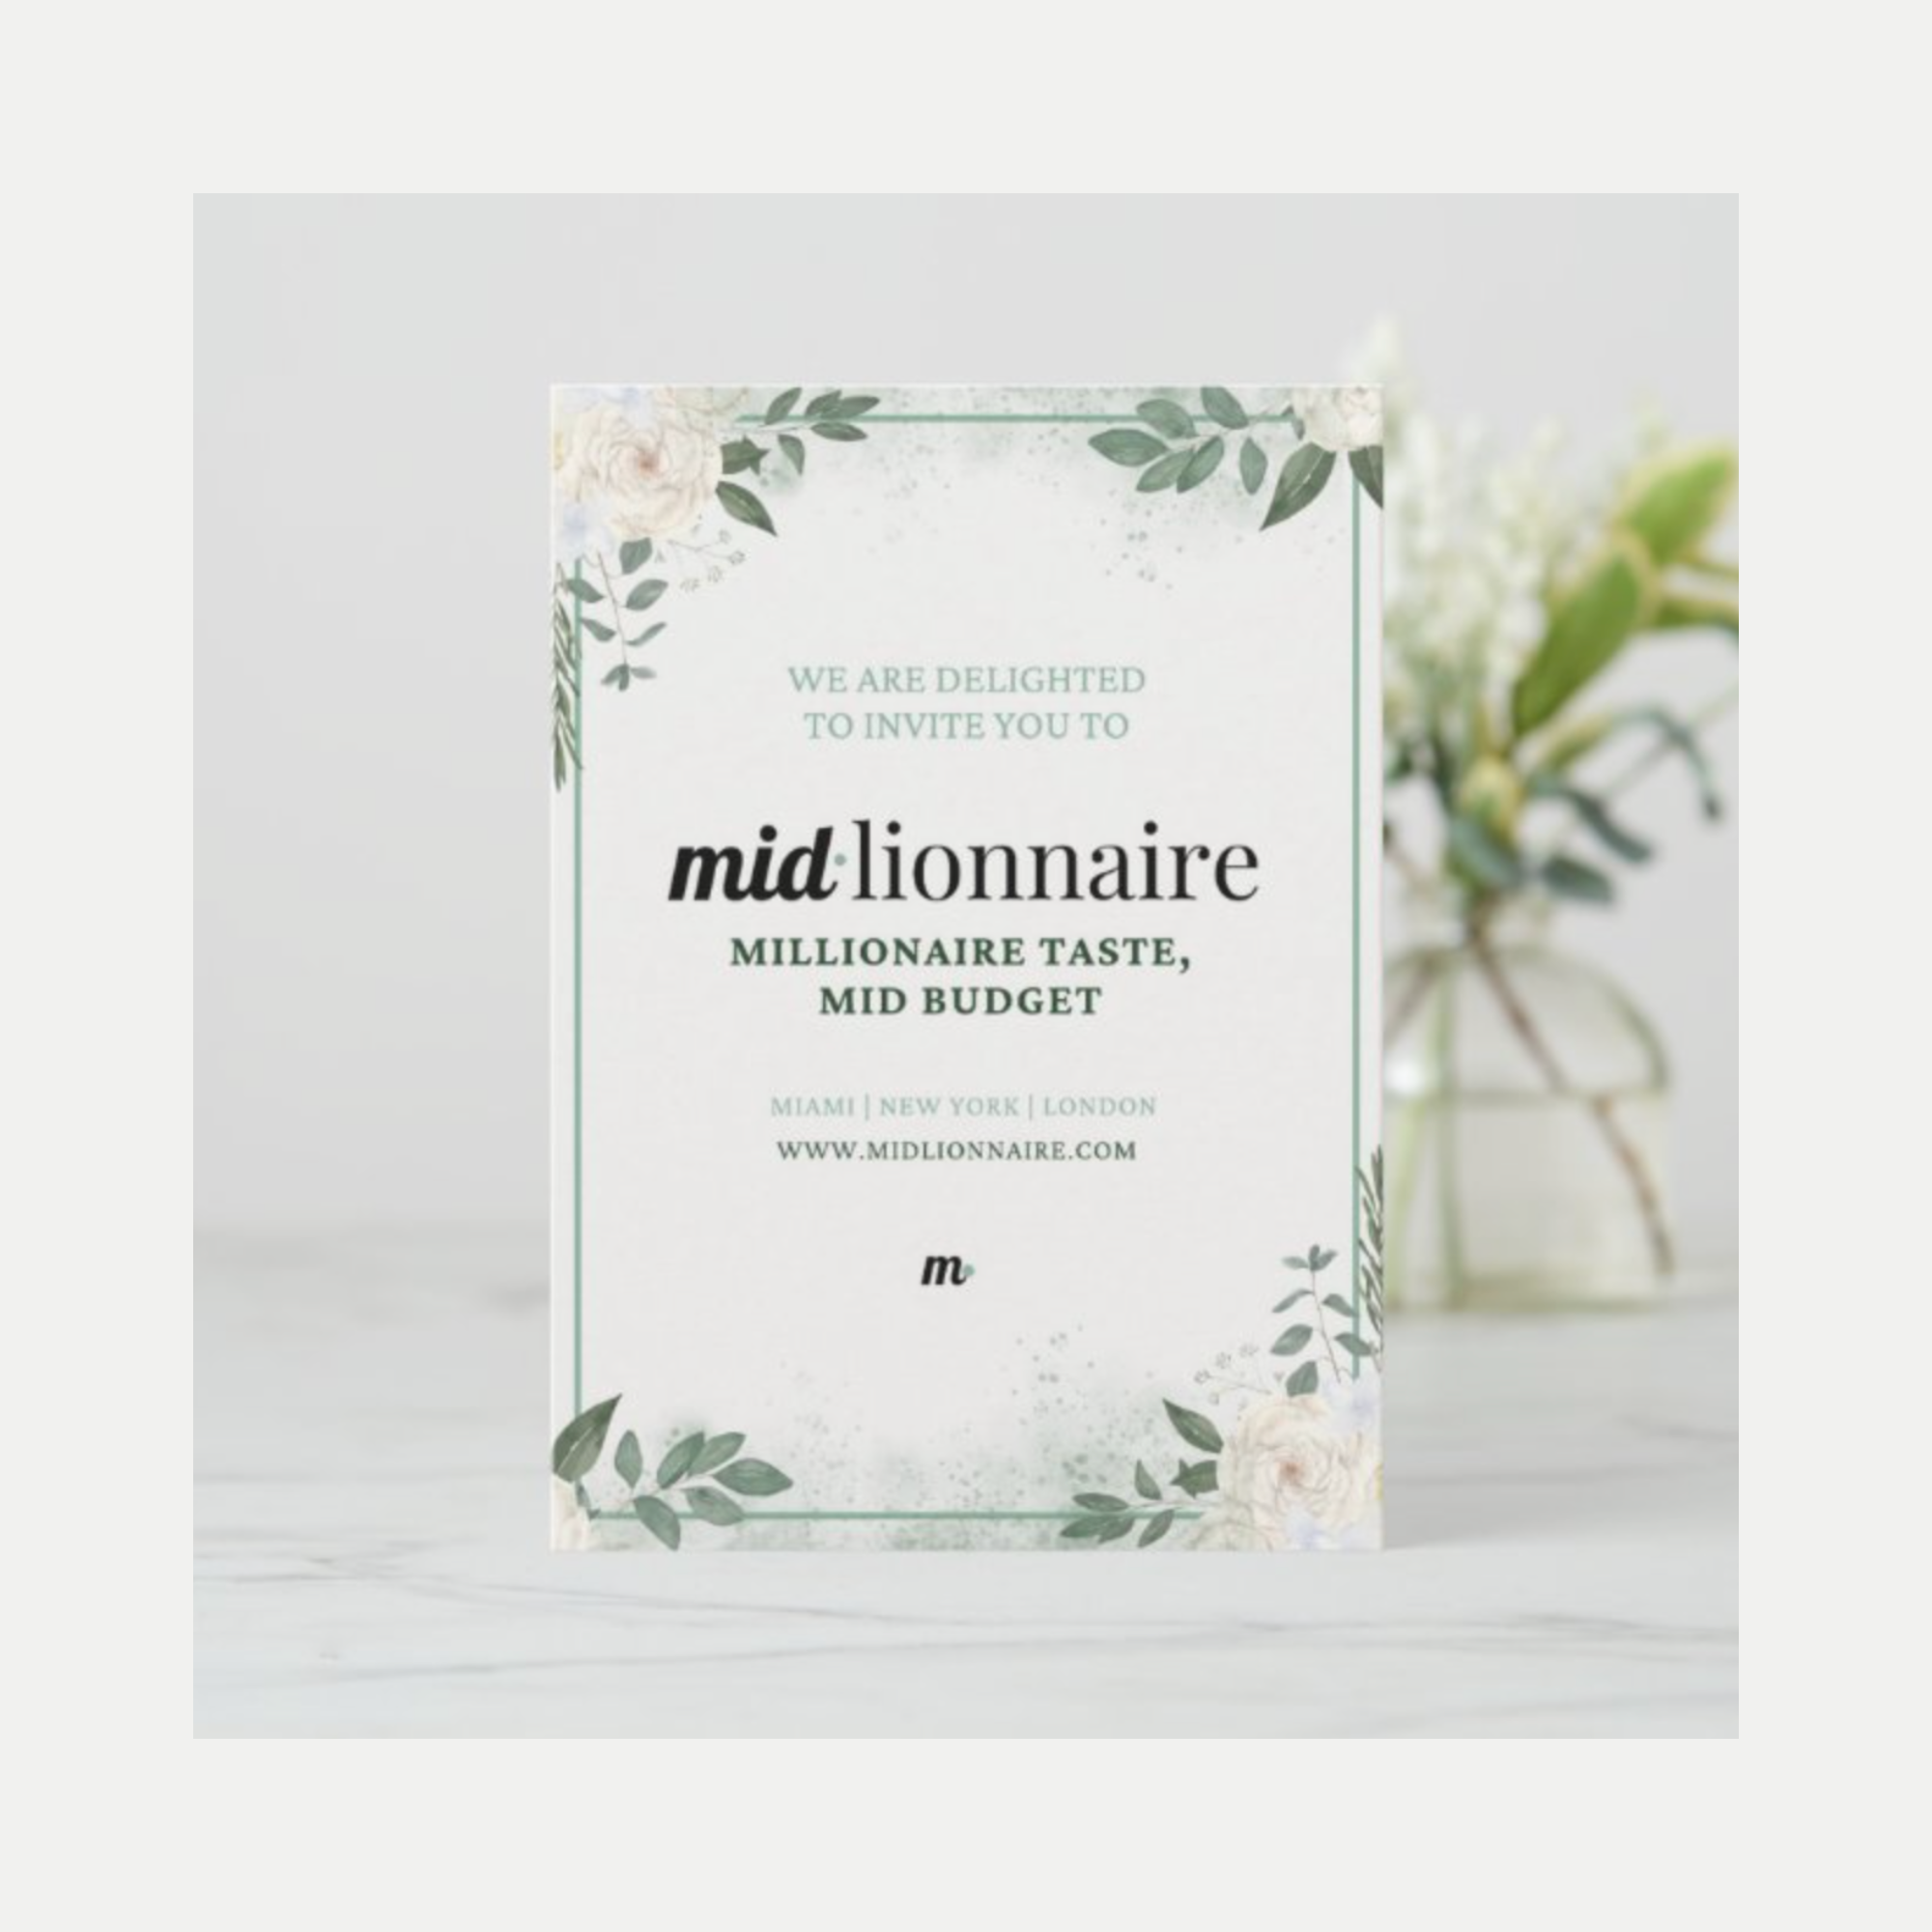
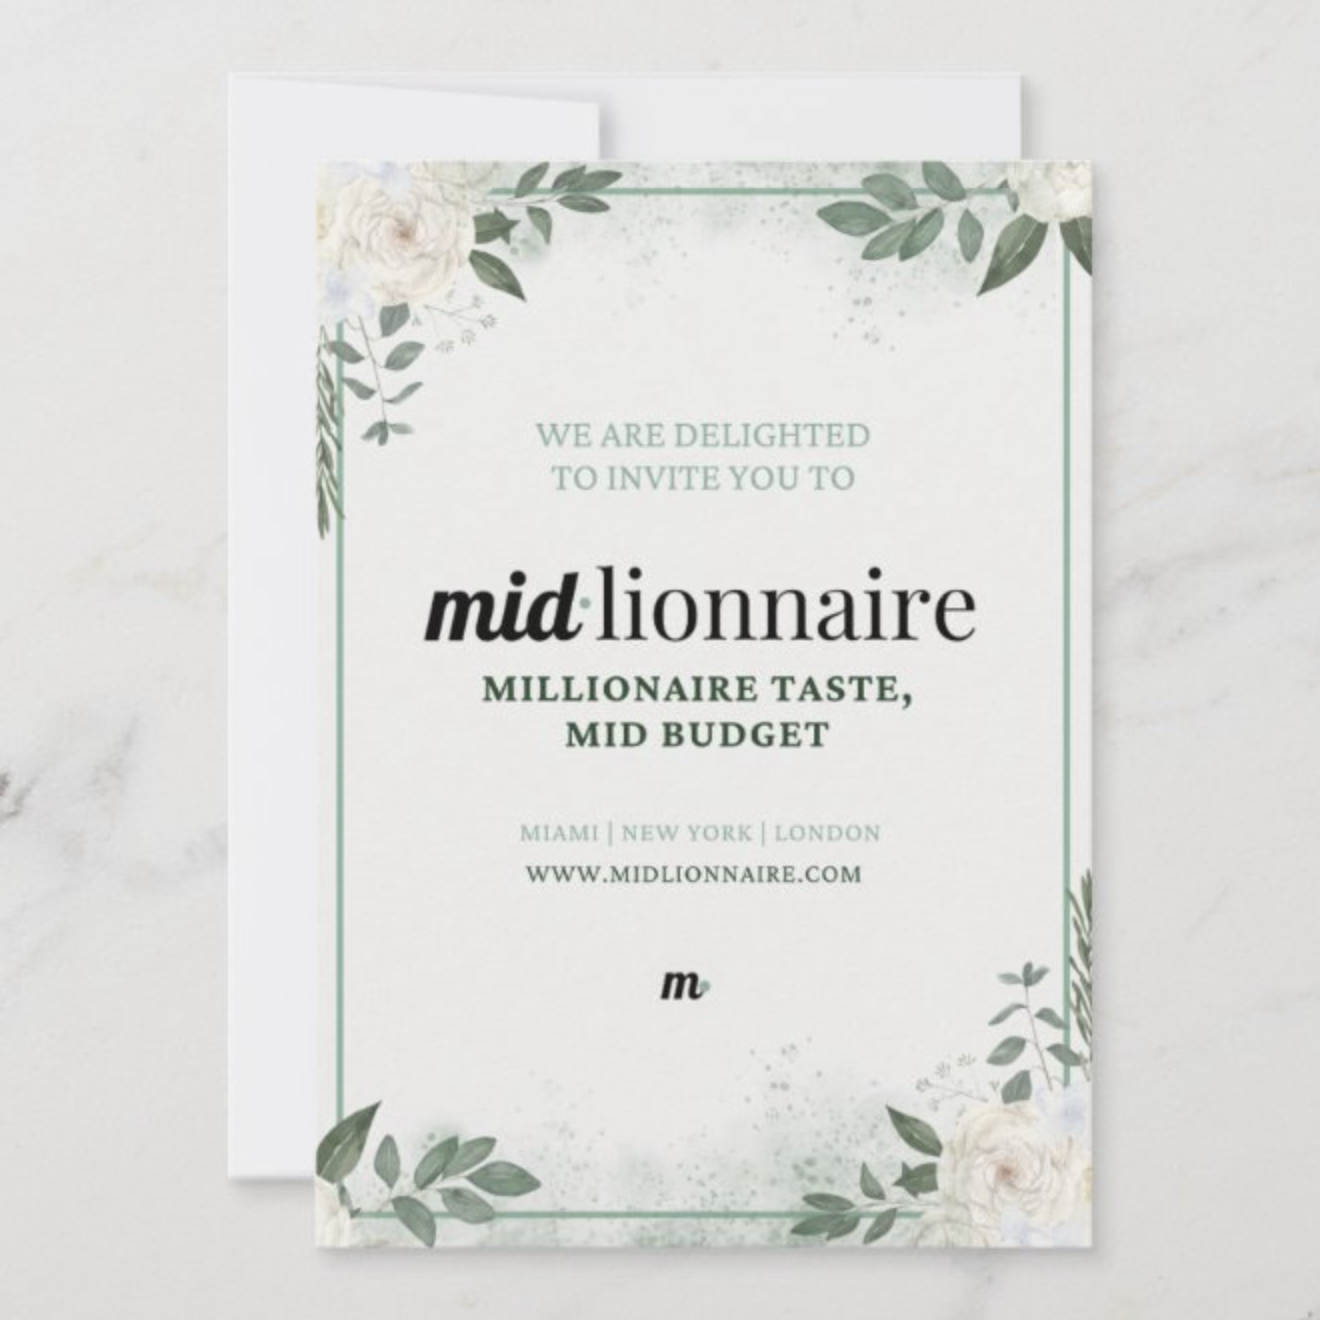
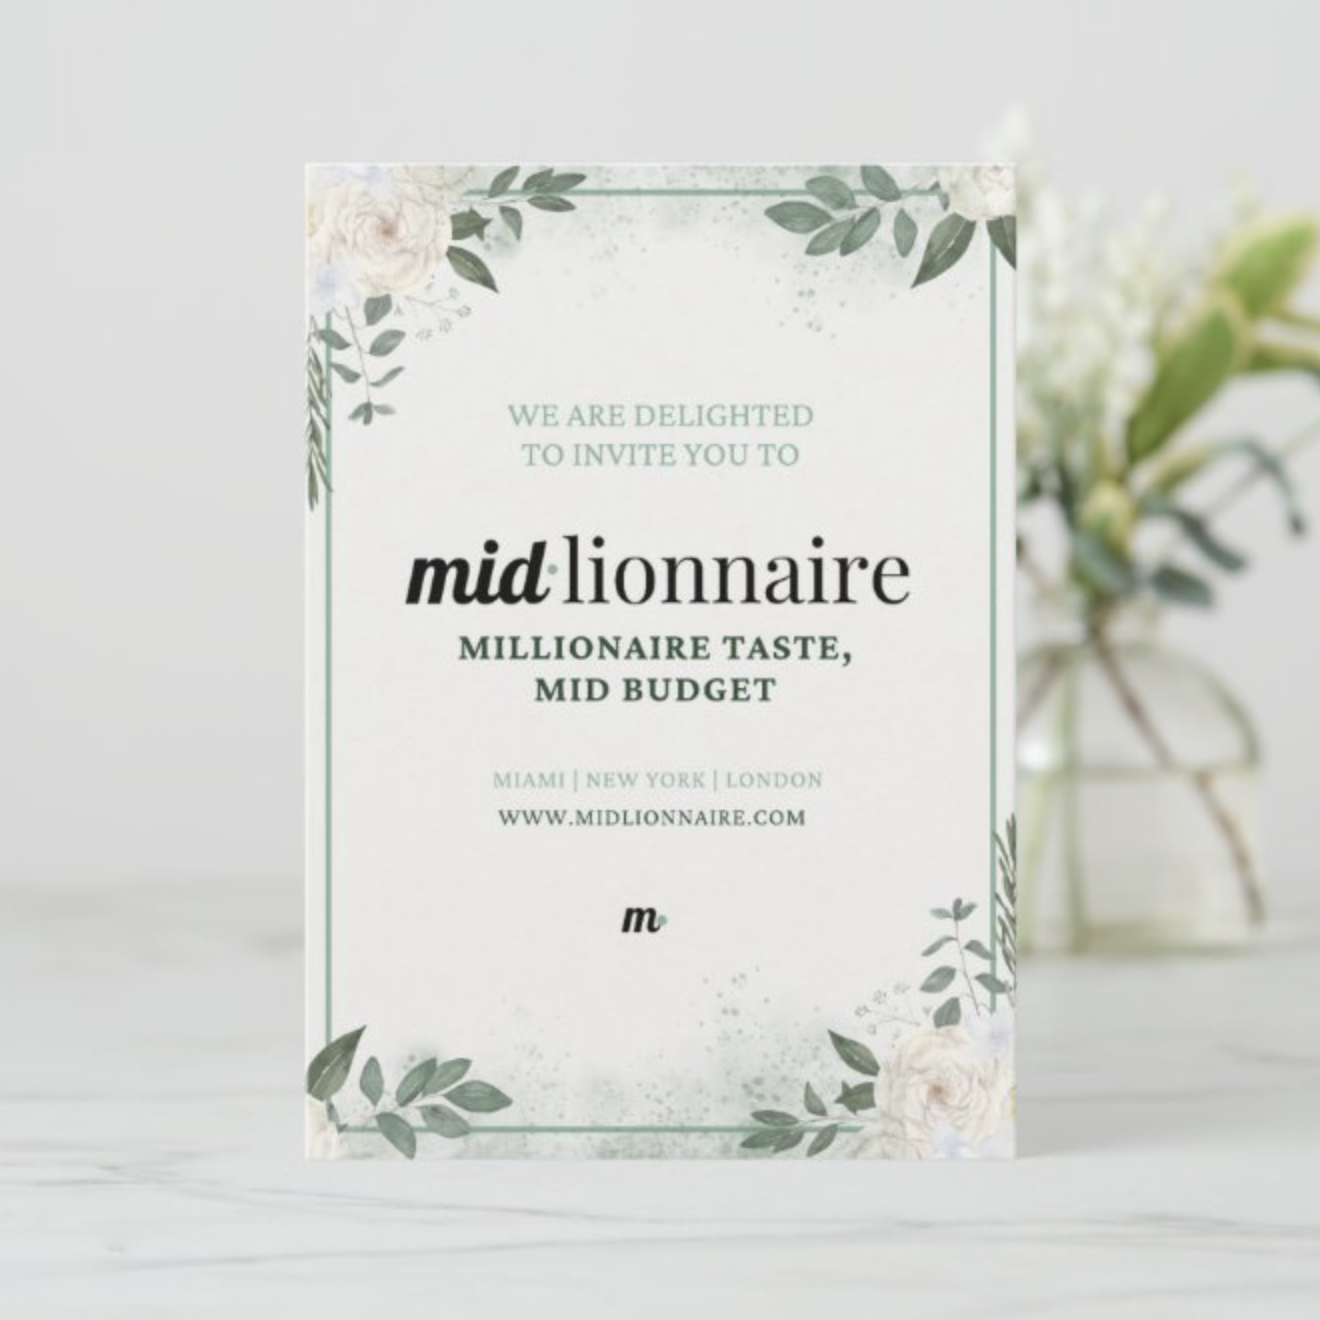
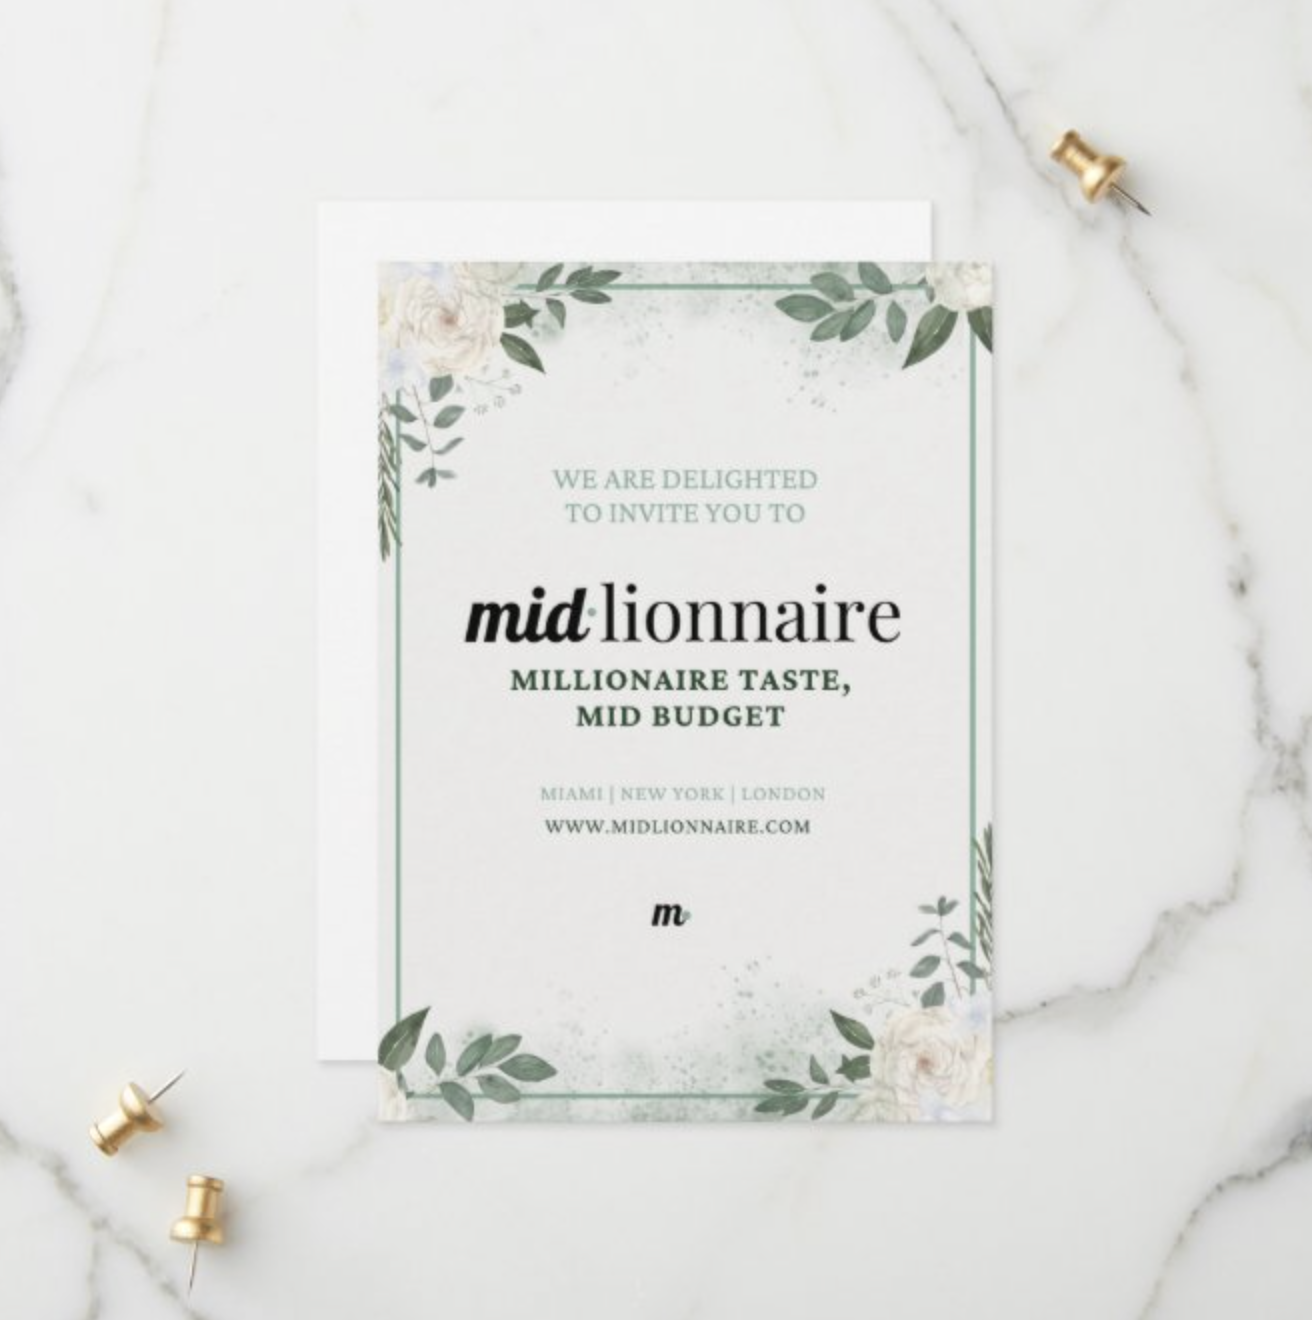
We’re not going to bury the lead here. Our favorite resource is Zazzle, a custom printing platform that lets you personalize everything from invitations and envelopes to wax seals, belly bands, and stamps. The quality is strong, the customization options are extensive, and the pricing is flexible enough to work for intimate weddings and larger guest lists. What makes Zazzle especially powerful is that it bridges the gap between professional printing and creative control. You get high-end finishes without needing to hire a designer or print house. In the end, you’ll save big on stationery without compromising on quality.
And very importantly, Zazzle is easy to use. Our favorite feature is the mock ups Zazzle creates with your design. This really helps bring your vision to life and you can experiment as much as you’d like. You won’t pay a cent until you place your order.
Step 1: Start With Inspiration
The hardest part of the creative process is staring at a blank canvas. Before designing anything, spend time browsing. We recommend utilizing two design tools, depending on your level of experience:
Invitation templates on Zazzle for configuration
Layouts and typography on Canva for customization
You’re not looking to copy, you’re looking to calibrate your taste. Pay attention to all details. Color, design elements, font pairings, spacing and margins, how information is structured across multiple cards…
Once you have a sense of what you like, base your final design on your venue and your color scheme. A garden estate might call for romantic scripts and soft colors, while a city or historic venue might feel better with clean serif fonts and minimal layouts. Let the setting guide the aesthetic to set the tone for your guests.
Step 2: Make It Look Professional
Once you have your basic design, think about how to take it to the next level. Imagine you’re a guest opening their invitation for the first time. What do you want them to see first? What reaction are you going for? What impression are you setting? This is where small upgrades make a huge difference.
Go the Extra Mile
Add one elevated detail guests wouldn’t expect, like a custom wax seal from Zazzle. It instantly signals intention and turns your invitation into an experience, not just a piece of paper.
Upgrade the Paper Texture
Paper matters more than people realize. Guests don’t just see elegance, they feel it. Choose a thicker cotton or linen blend, or a textured finish. This is one of the easiest ways to make invitations feel expensive.
Use Invitation Bands for Multi-Page Sets
If you have multiple inserts (details card, RSVP, accommodations), use a custom invitation band or belly band to hold everything together. It keeps the suite tidy and adds a boutique, curated feel.
Hand-Address Carefully
If you’re hand-addressing envelopes, use a stencil or guide. Uneven spacing or slanted lines can undermine an otherwise beautiful suite. Precision matters here.
Choose Stamps That Match the Design
Stamps are part of the visual story. Choose colors or themes that complement your invitation design. If you’re shipping via Priority Mail, check with the post office first. Priority labels and barcodes can change how your envelope looks, and you don’t want surprises after all that work!
Step 3: Proof and Order
First things first, triple check all the details. Are there any typos? Is everything lining up? Did you put the correct date? Invitations contain crucial details so you need to make sure you get it right.
Once you’re ready, it’s time to order and print! Just upload your designs on Zazzle and you’re good to go. If you’re placing a big order, consider ordering a sample and check the following:
Color accuracy
Paper weight
Print clarity
Overall feel in hand
Zazzle also has strong customer service so if there are any printing issues, you should be covered. And then you’re ready to go! Once you receive your invitations, you’re ready to send them out into the world.
Final Thoughts
Designing and printing your own wedding invitations is all about making intentional choices. With the right platform, thoughtful details, and a bit of patience, you can create invitations that feel personal, elevated, and unmistakably you.
Join our @midlionnaire Instagram community for more insights and product recommendations